Growing Food Indoors
If you’ve never grown Microgreens, now is the time. These little bursts of flavor pack a substantial nutritional punch, and you can grow them in the light of a south facing window in as little as two weeks. Don’t despair if you don’t have ample natural light. LED grow lights continue to get more affordable and more effective.
It all starts with high quality, fresh seeds. Buy in quantity and, to get the most nutrition out of the smallest space, don’t skimp on the sowing. Start by filling a tray or other low container with about two inches of pre-moistened soilless mix, and then sprinkle the seed evenly over the mix. There’s no need to cover small seeds. In fact, you’ll likely get more consistent germination by leaving them uncovered. Water gently, and keep the soil consistently moist. When the tiny plants look and taste ready, cut the tender stems just above the soil line with scissors. Some microgreens go from seed to plate in little more than a week.
“Sprouts, microgreens, and ‘baby’ vegetables are denser sources of nutrition than their mature counterparts.” ~ C. F. Weber, 2017*
Five to Try
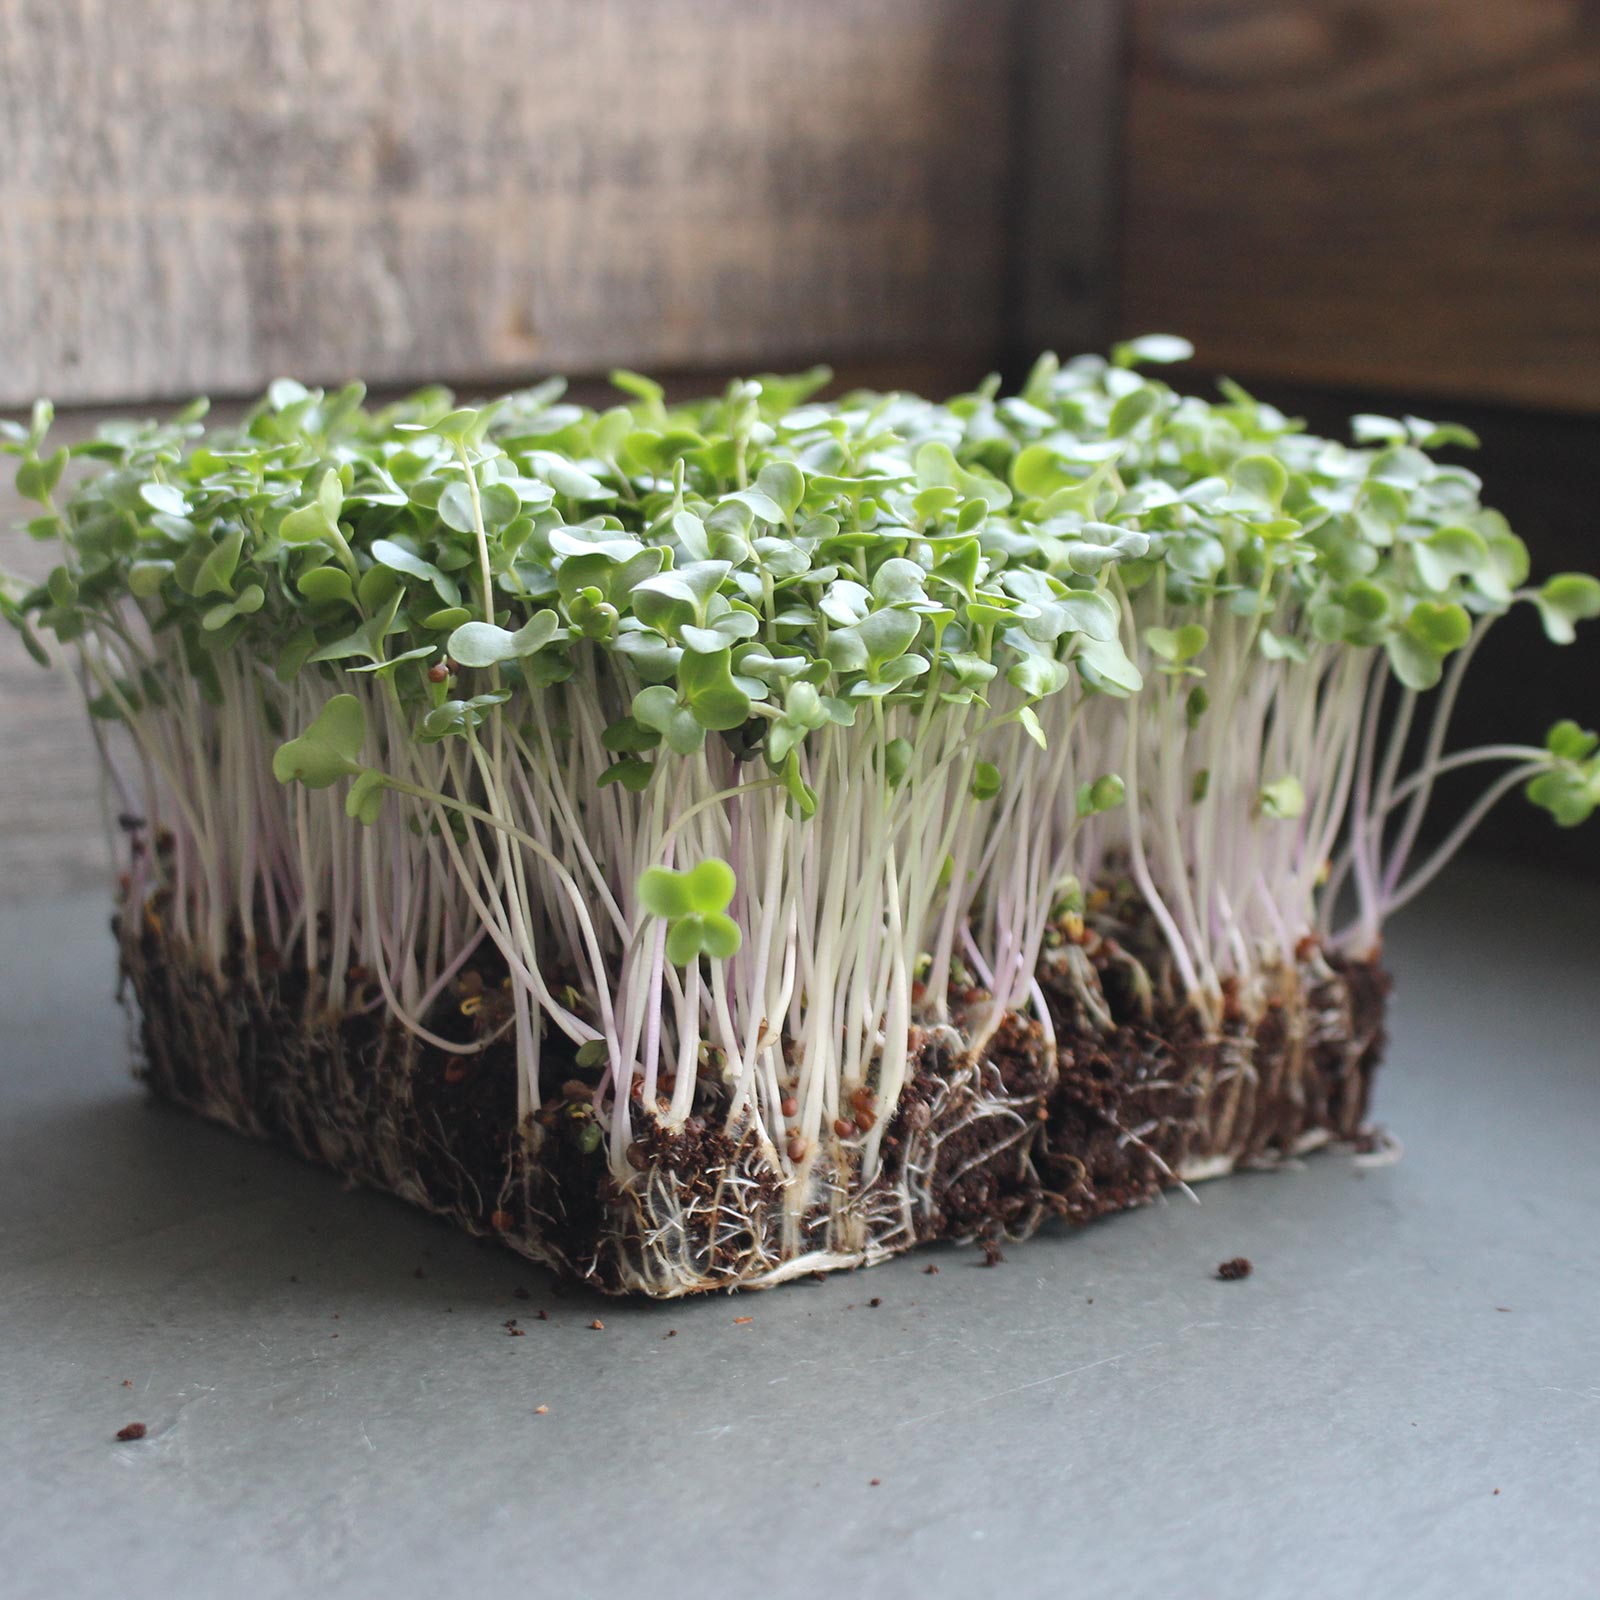
Broccoli can be sown thickly. It has a mild cabbage flavor, and is nutrient dense.
Cress microgreens are peppery and delicate, and super fast to grow.
Pea shoots are sweet and crunchy, and taste like young snow peas. Excellent in salads!
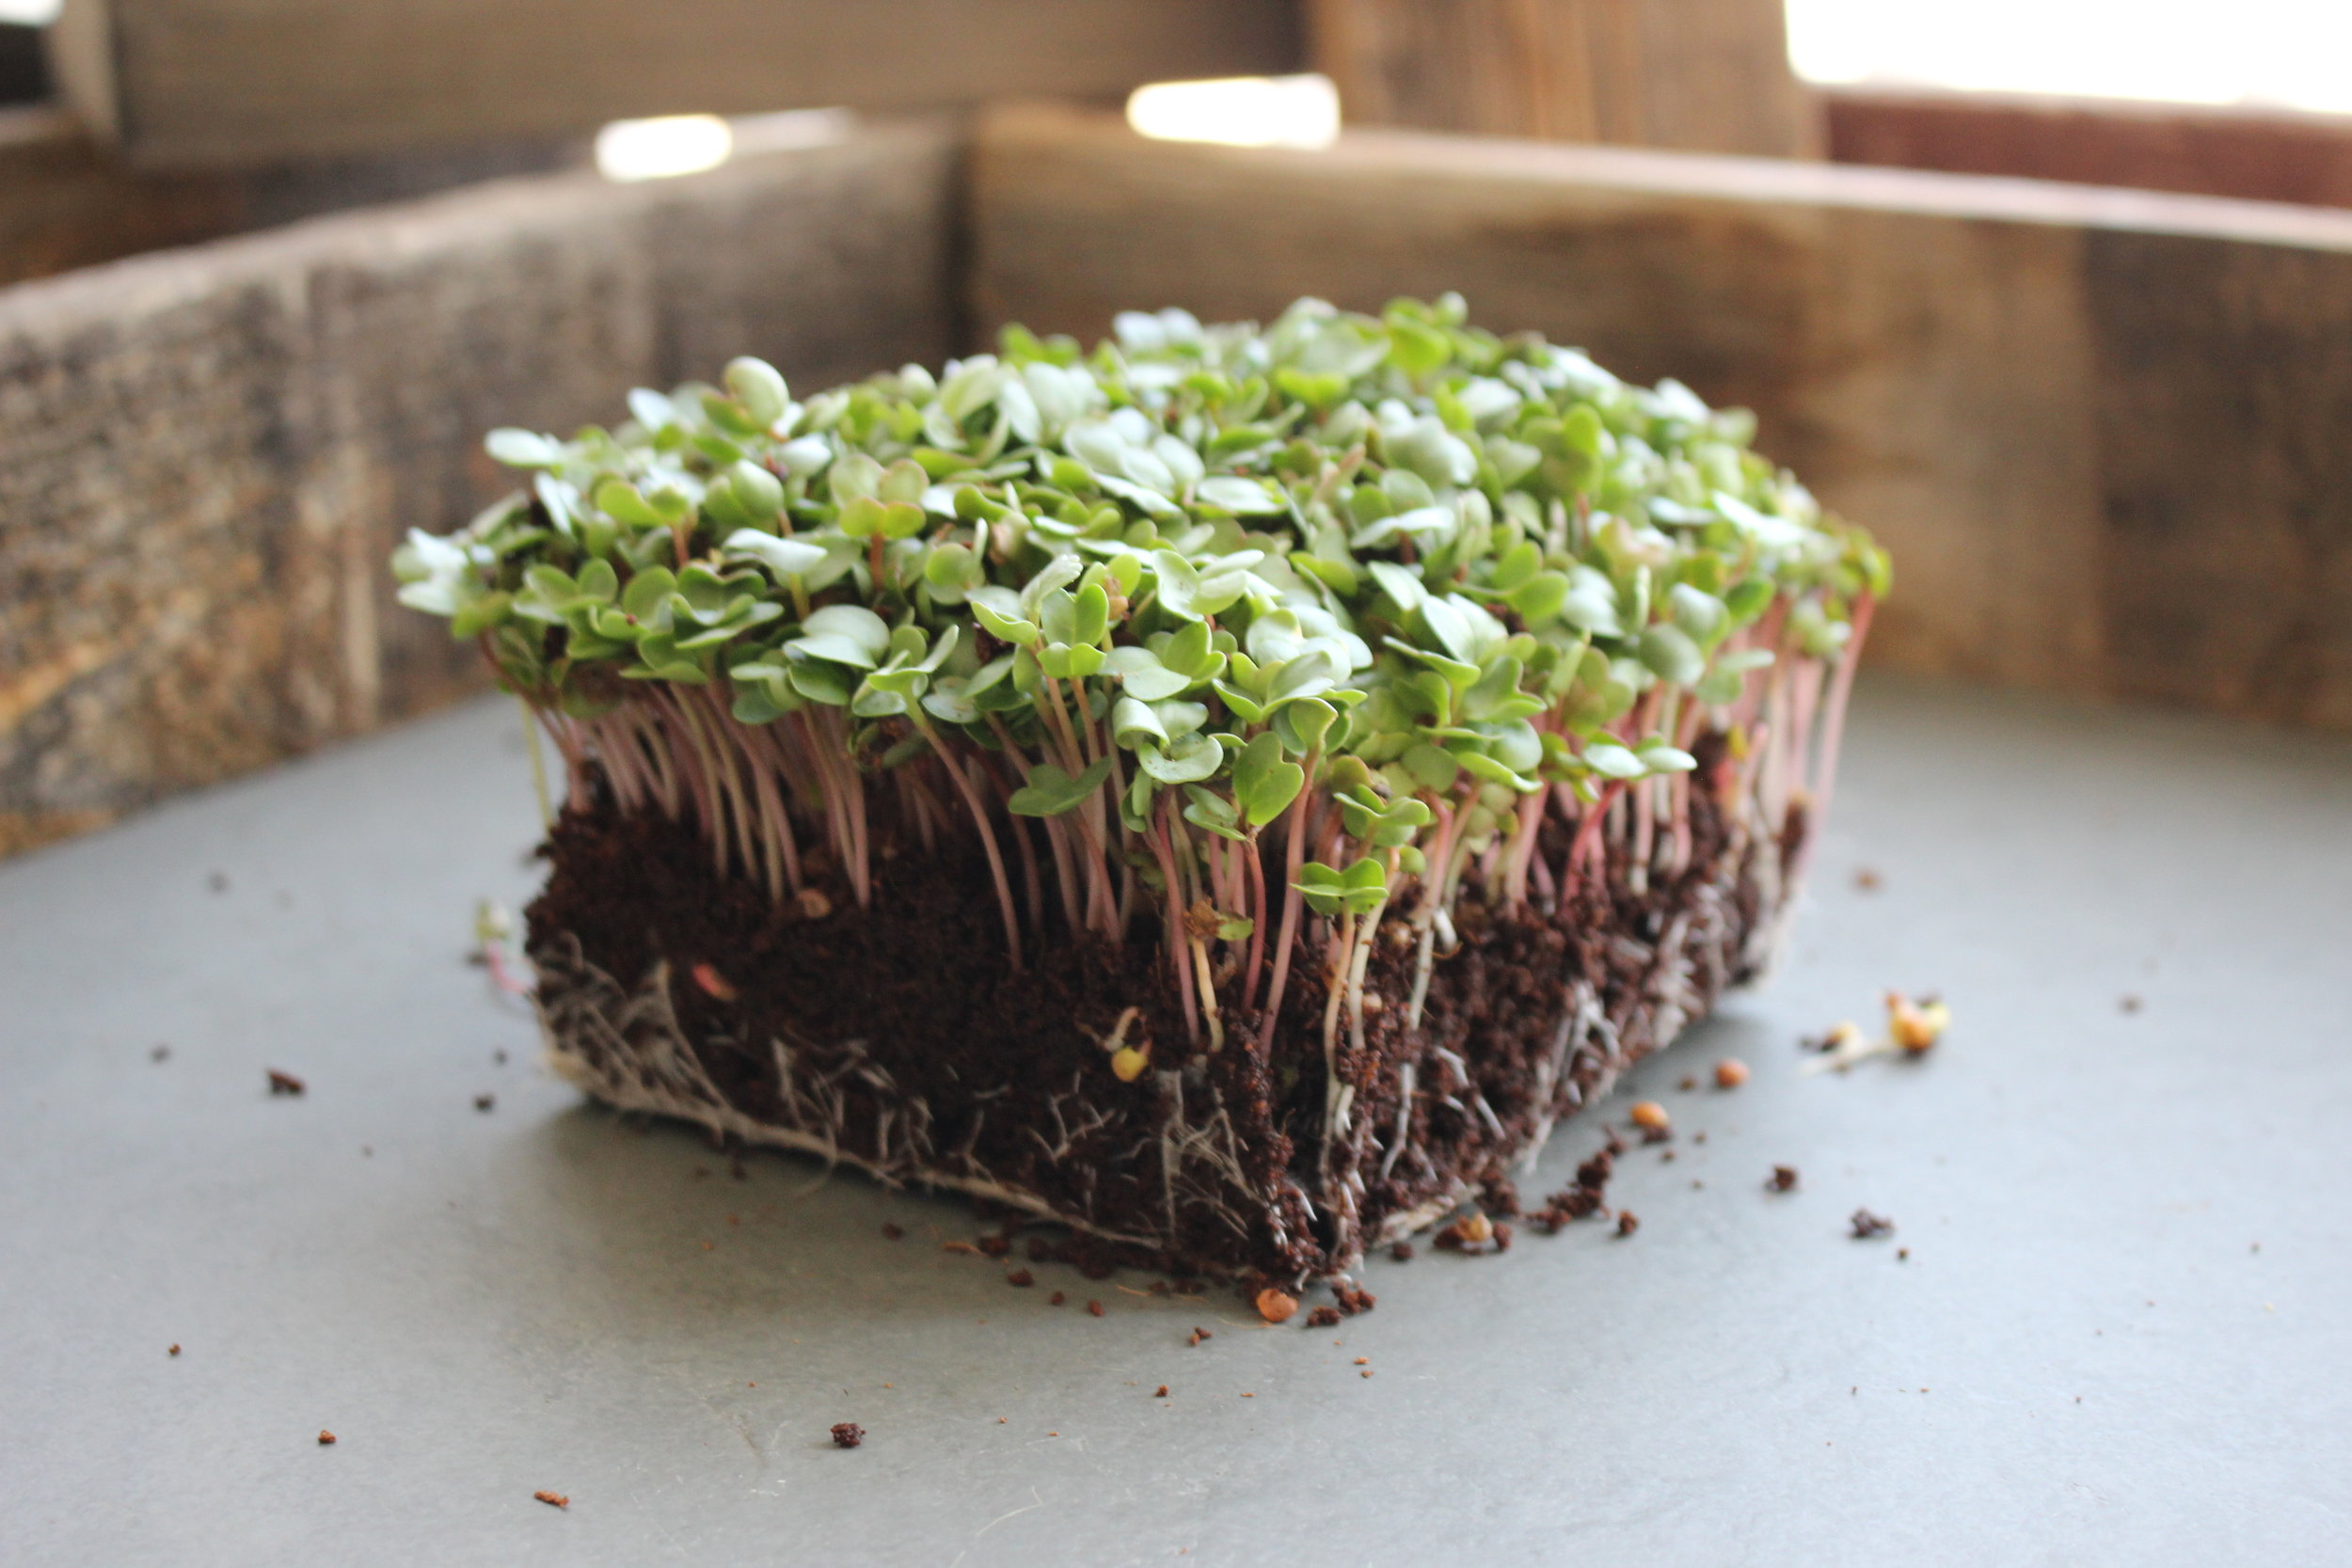
Radish microgreens have a nice crunch. Daikons, particularly, have an intense radish flavor.
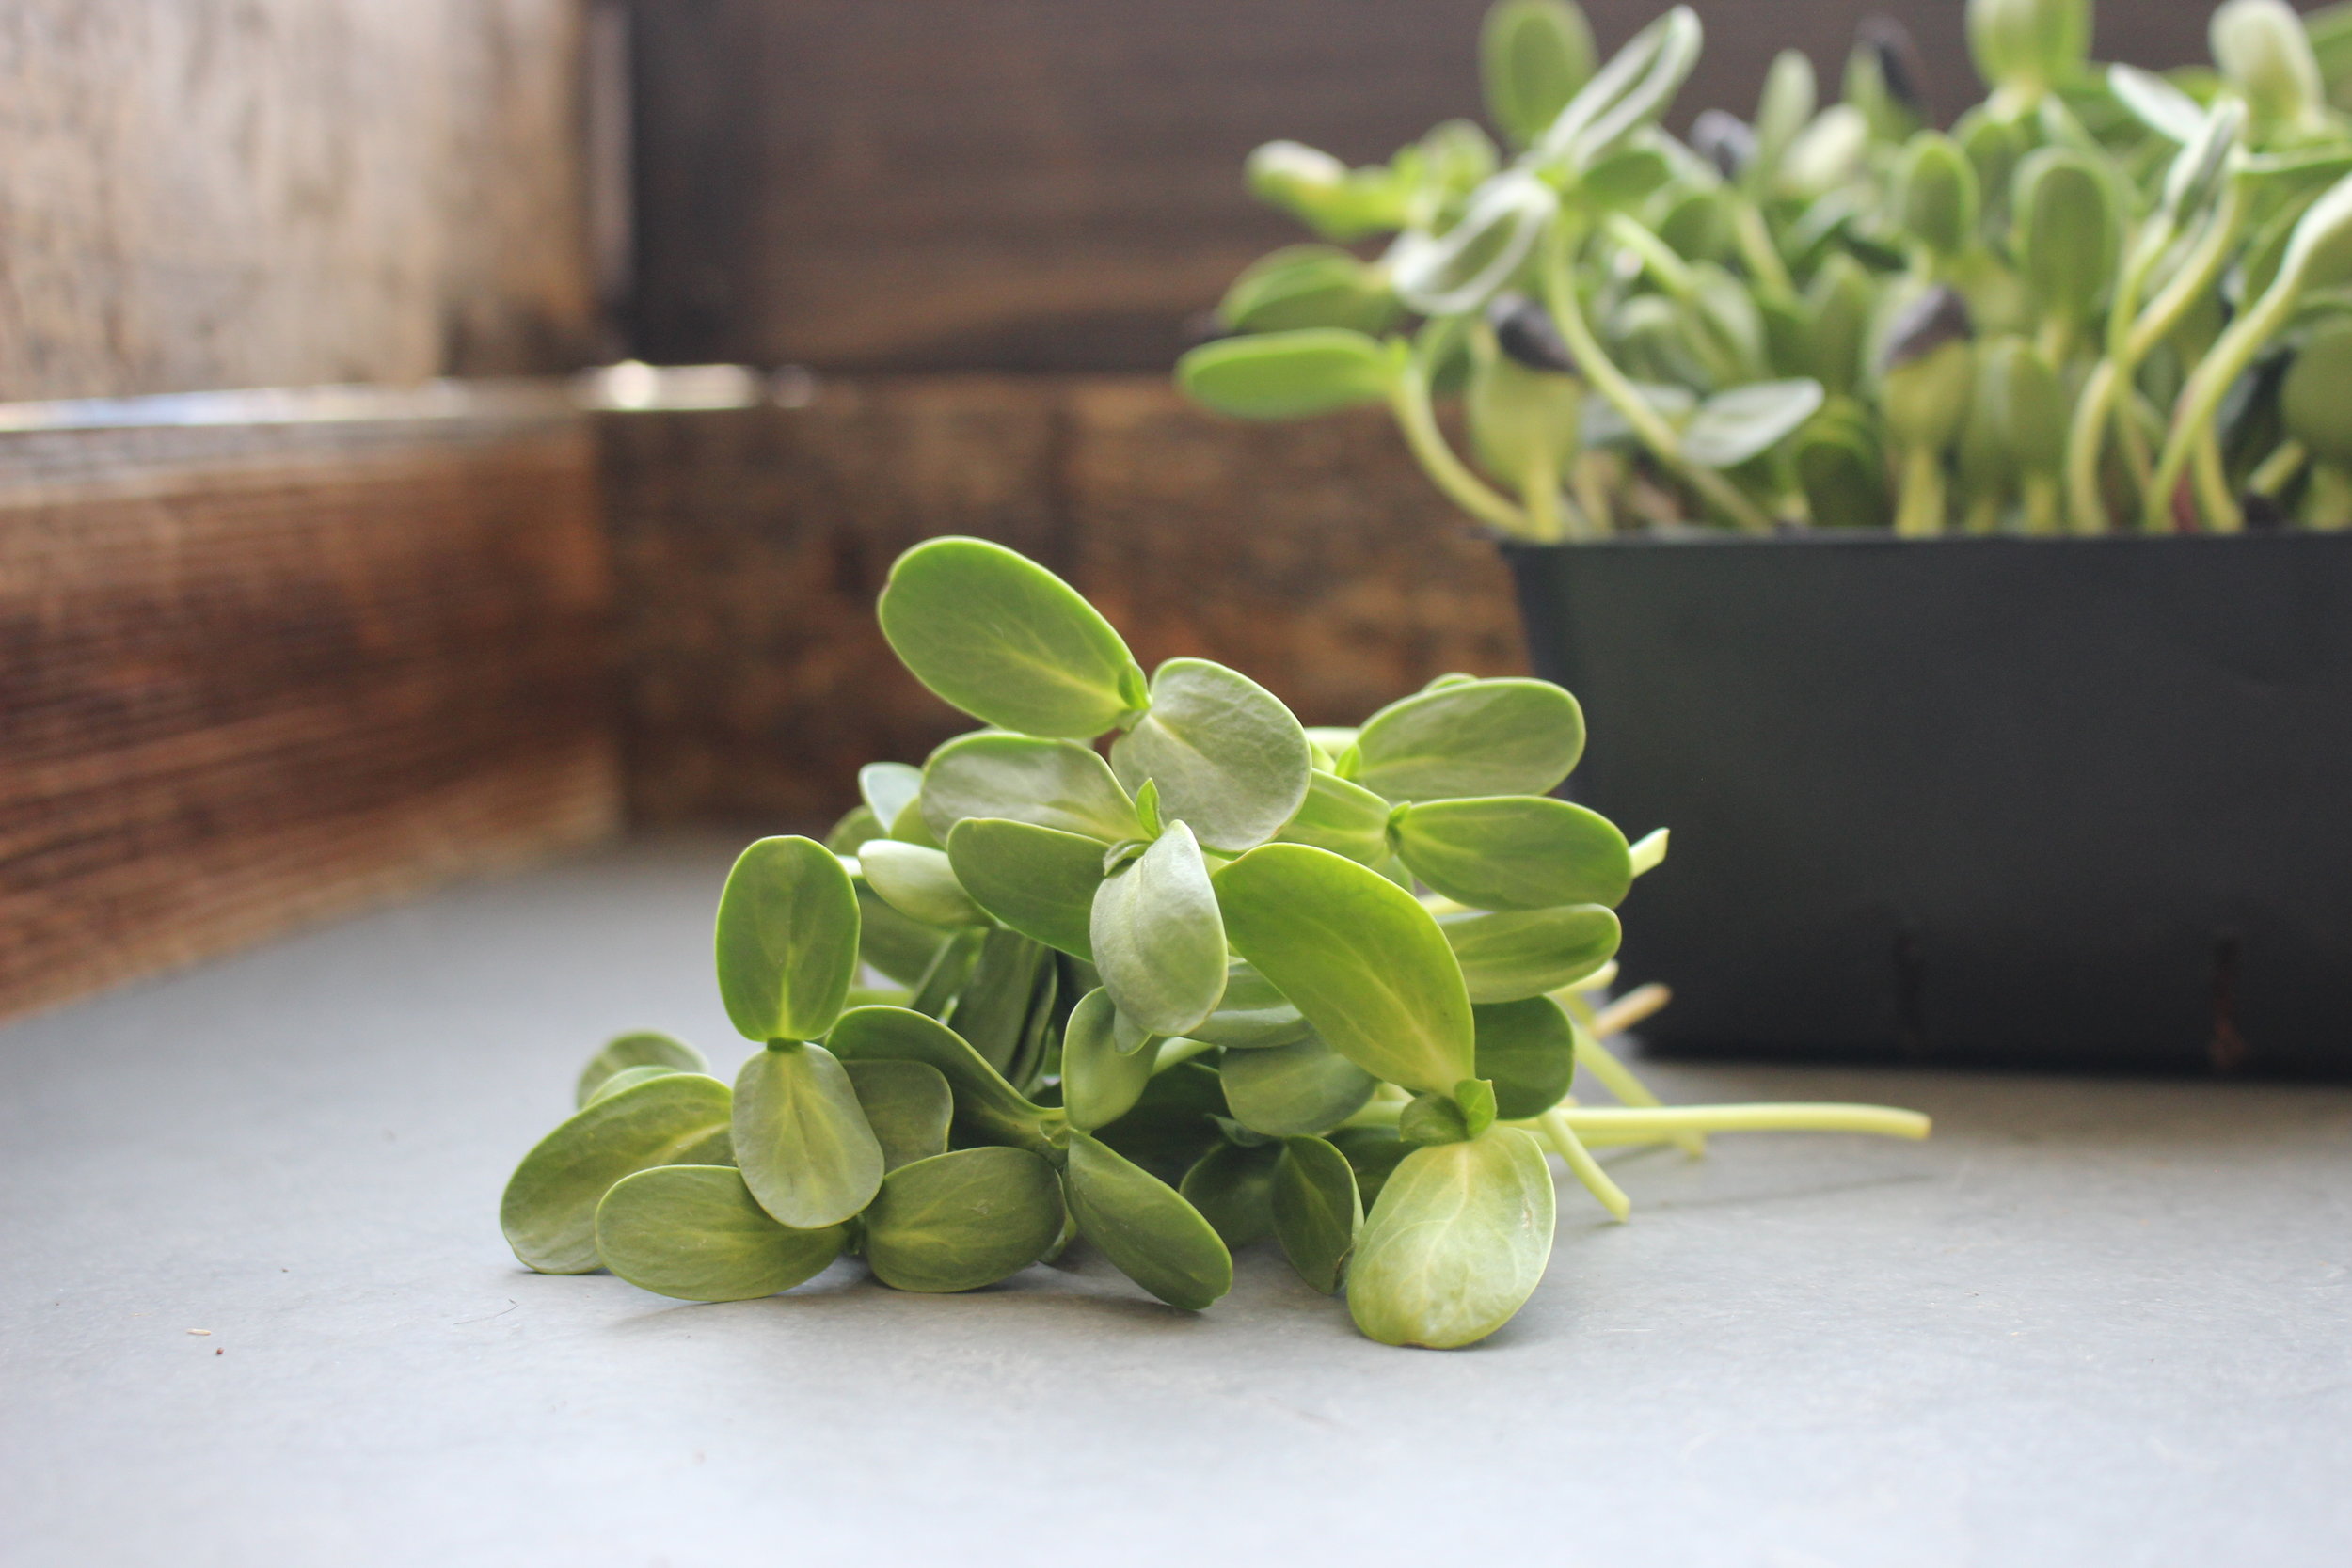
Sunflower microgreens make an excellent snack. Soak seeds for 4 hours before planting.
Microgreens vs. Sprouts: What’s the difference?
Microgreens are delicate bursts of flavor, ready to cut just 1 to 3 three weeks after you plant them. Sprouts are seeds that have germinated without soil. Harvested in just a few days, they impart flavor and crunch to sandwiches and salads, or interesting texture to cooked dishes. Sprouts require very little light.
Sprouting seeds require humidity, a condition in which bacteria thrive. Reduce risk of illness by cooking sprouts, or follow these precautions.
Safe Sprouting **
Treat seed for five minutes in a solution of 3% hydrogen peroxide or 2 T vinegar in 1 C water. Immerse small seed volumes using a mesh strainer.
Rinse seed under tap water for 1 minute. Then, place rinsed seed in a water-filled container and skim off the floating fragments. Research has tied most contamination to these floaters.
Sanitize or sterilize sprouting containers. To sterilize, boil containers for 10 minutes. Sanitize by soaking containers for at least 5 minutes in a solution of 3 tablespoons bleach per quart of water.
Rinse sprouting seeds two to three times a day with clean water, completely draining after each rinse.
When your sprouts are ready, do a final rinse in a clean bowl and remove any floaters.

Tips for Growing Herbs Indoors
Light is paramount to success when growing herbs indoors. Even with a south-facing window, light can be insufficient. You can provide your herbs with the 14 hours of light that they require for good growth with a simple setup using energy efficient LED grow lights and an inexpensive timer.
3 Tips for Indoor Herb Growing
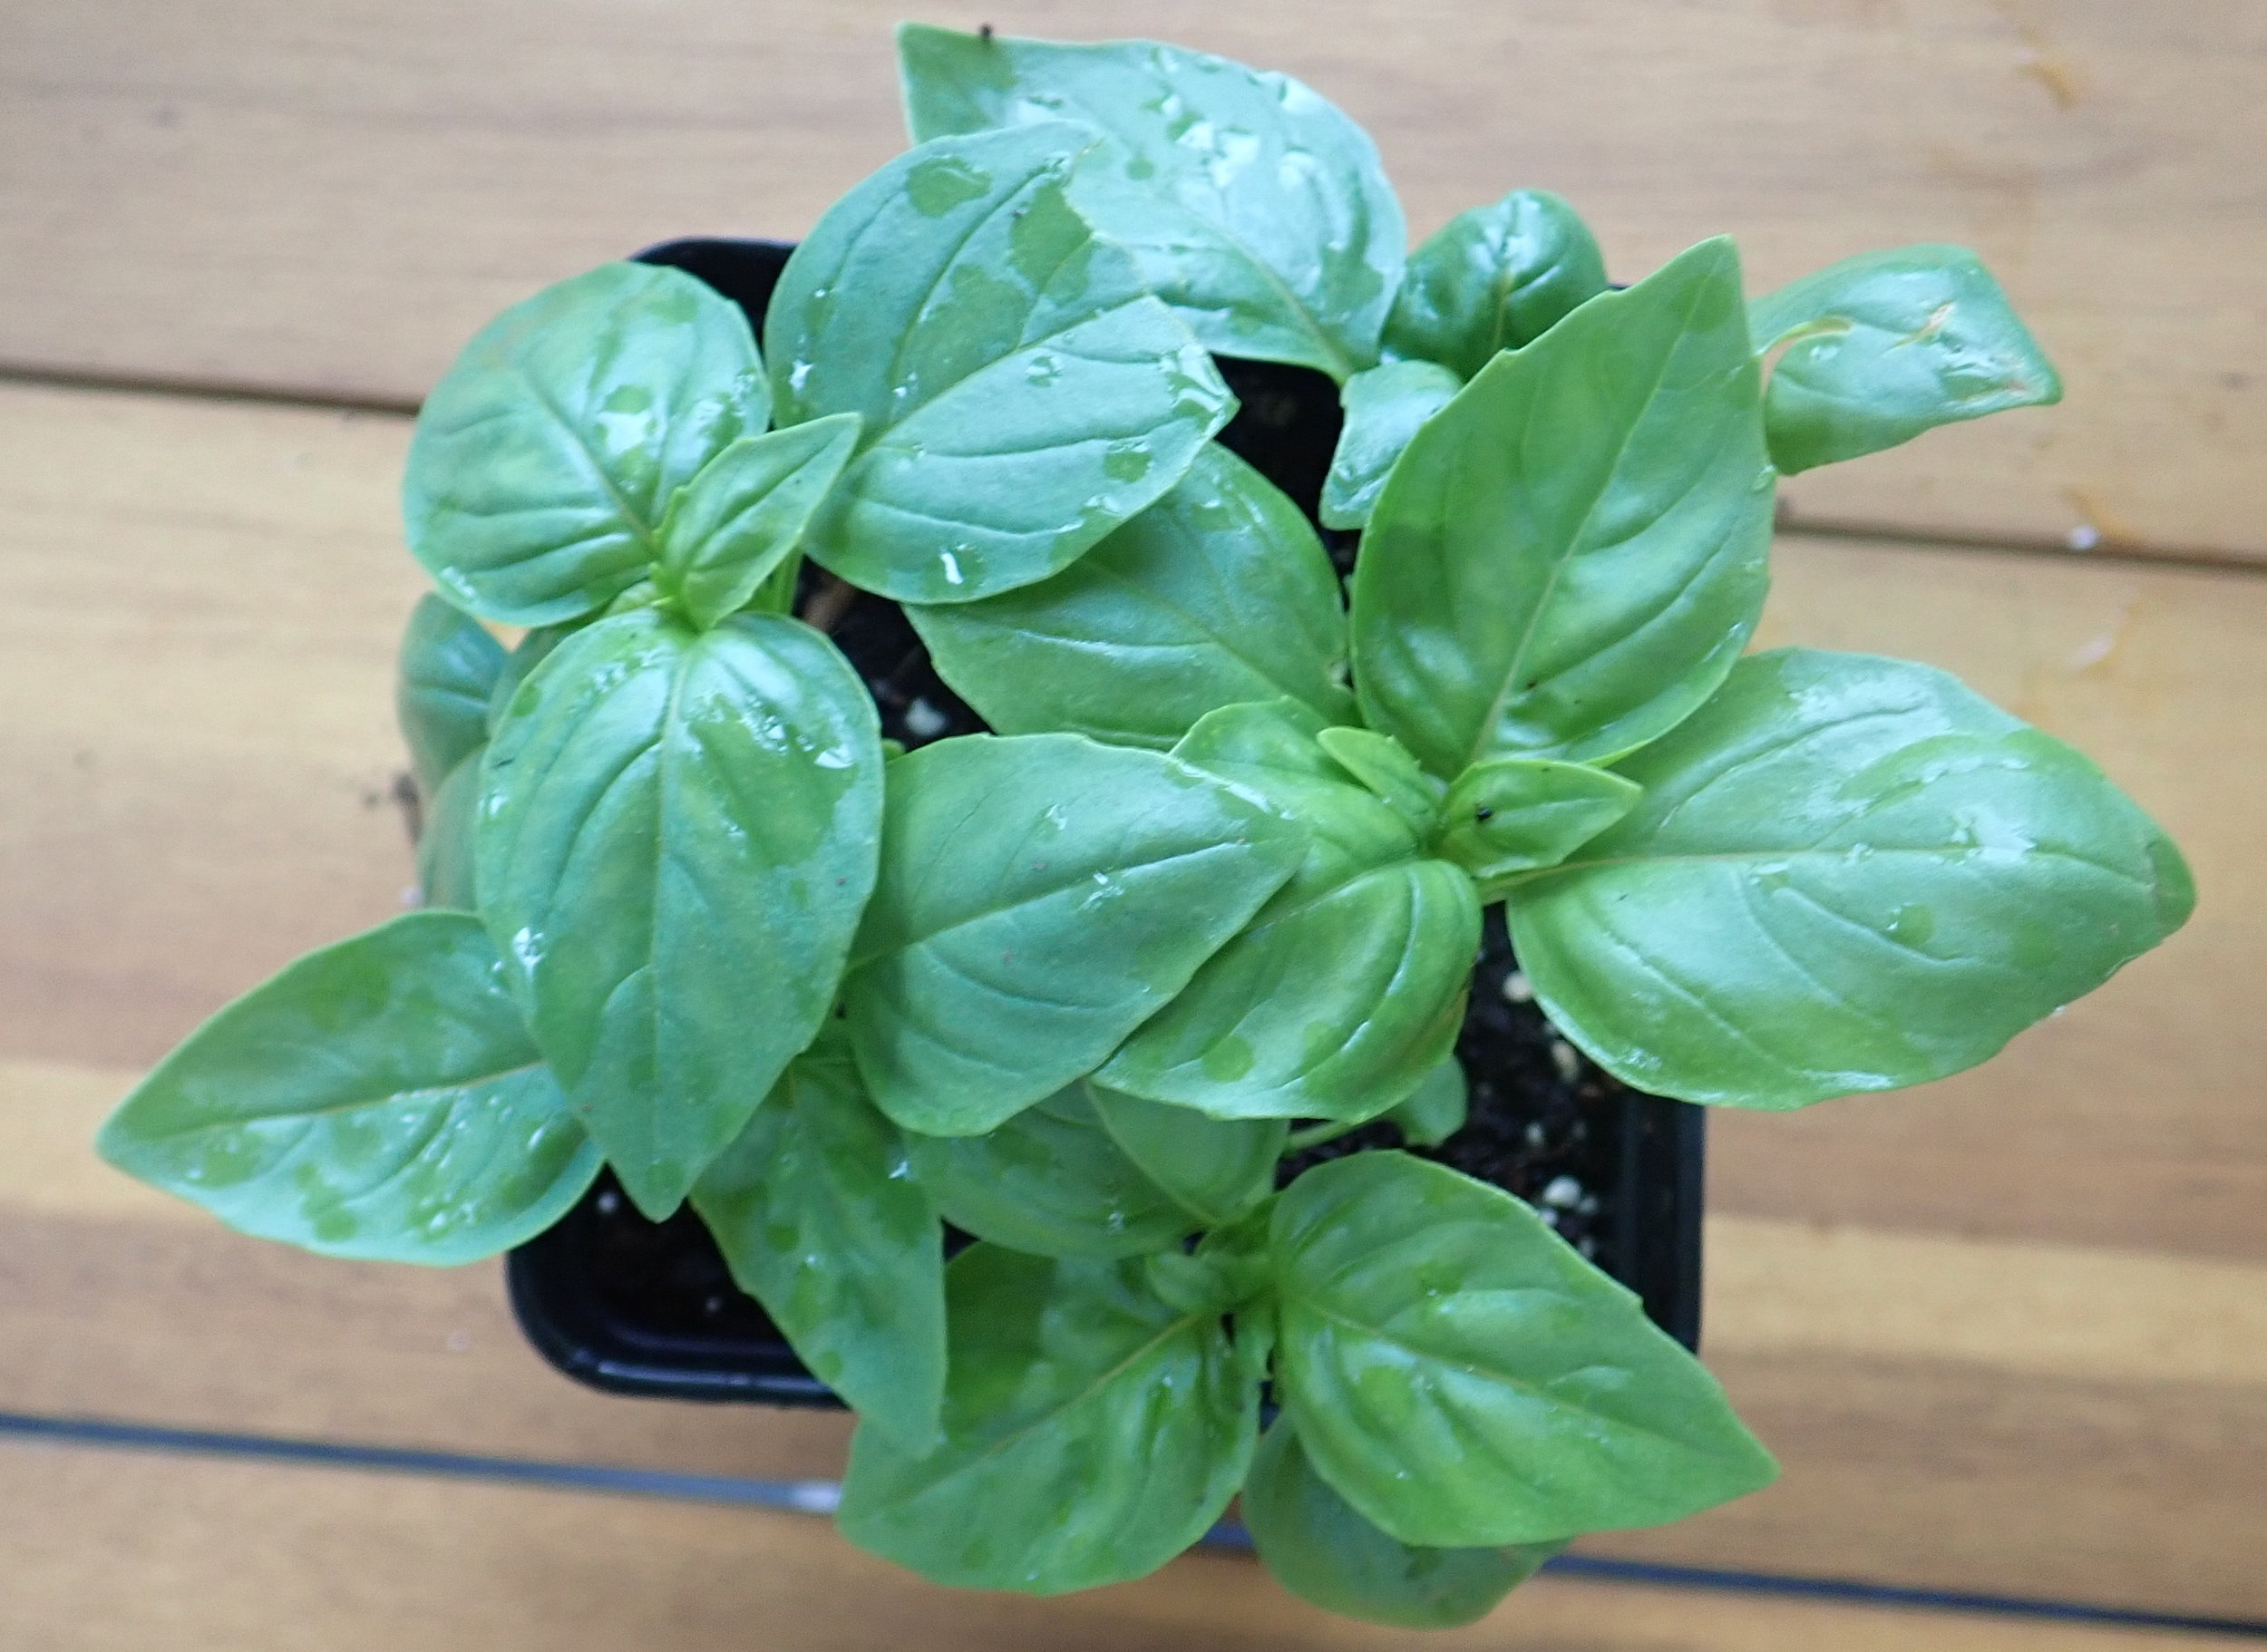
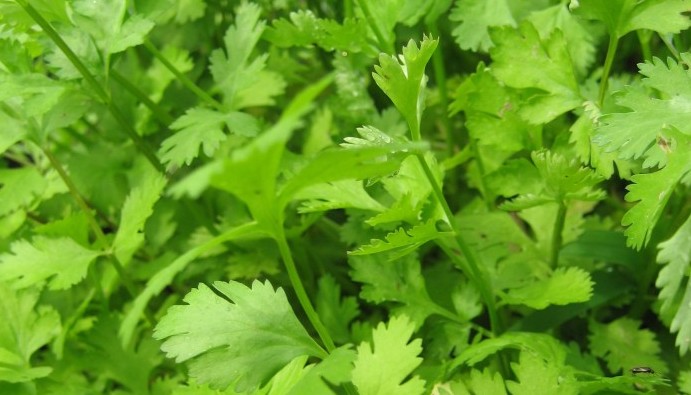
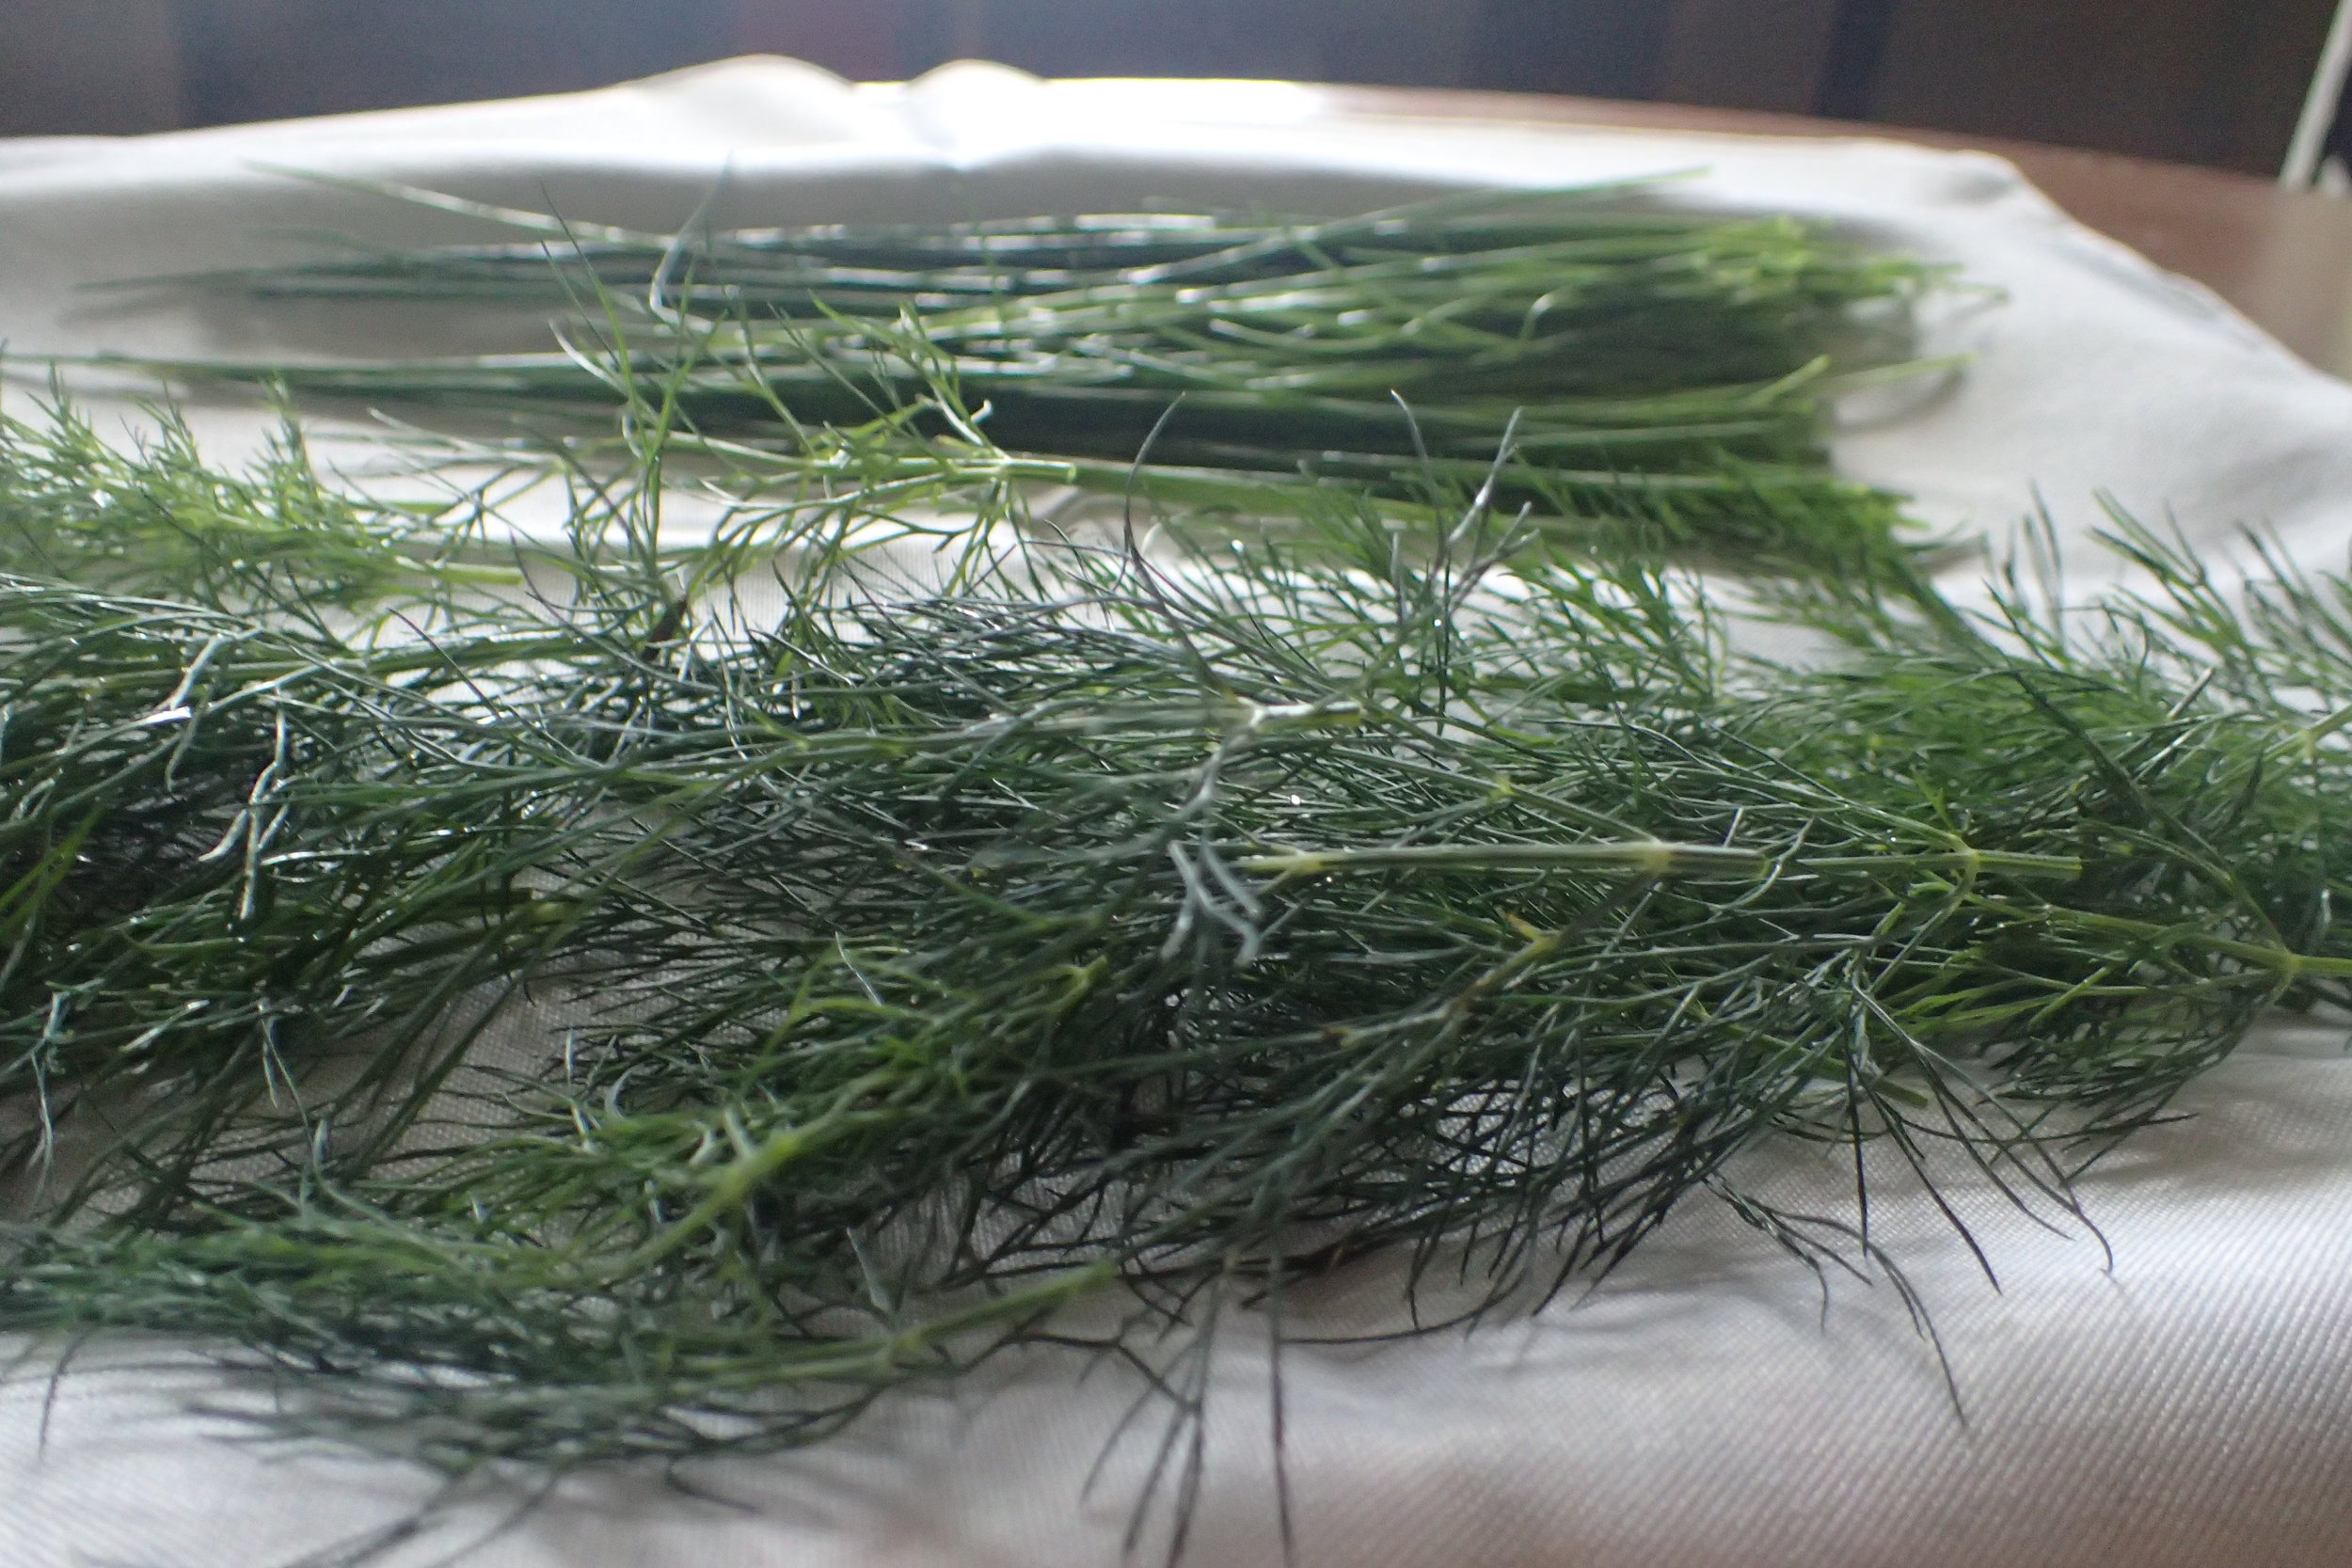
Choose fast growing herbs, such as basil, cilantro, dill, and arugula, and harvest them young.
Plant each herb in its own container, as growth habits vary.
Sow seeds every few weeks for a continuous harvest.
* Weber CF (2017) Broccoli Microgreens: A Mineral-Rich Crop That Can Diversify Food Systems. Front. Nutr. 4:7.
** For more details on sprouting safely, visit truleafmarket.com

