
Microgreens: a Crop for All Seasons
Microgreens—tiny bursts of goodness and flavor that can go from seed to plate in little more than a week—can be grown all year long. Spicy radish and mustard greens, colorful chard, and nutritious red cabbage are just a few of the mini-seedlings that are easy to grow indoors.
USDA researchers have discovered that microgreens contain high concentrations of several essential vitamins, including vitamins C, K, and E—higher, in fact than their mature plant counterparts. Red cabbage, cilantro, garnet amaranth, and daikon radish were shown to be the nutritional leaders of the pack.
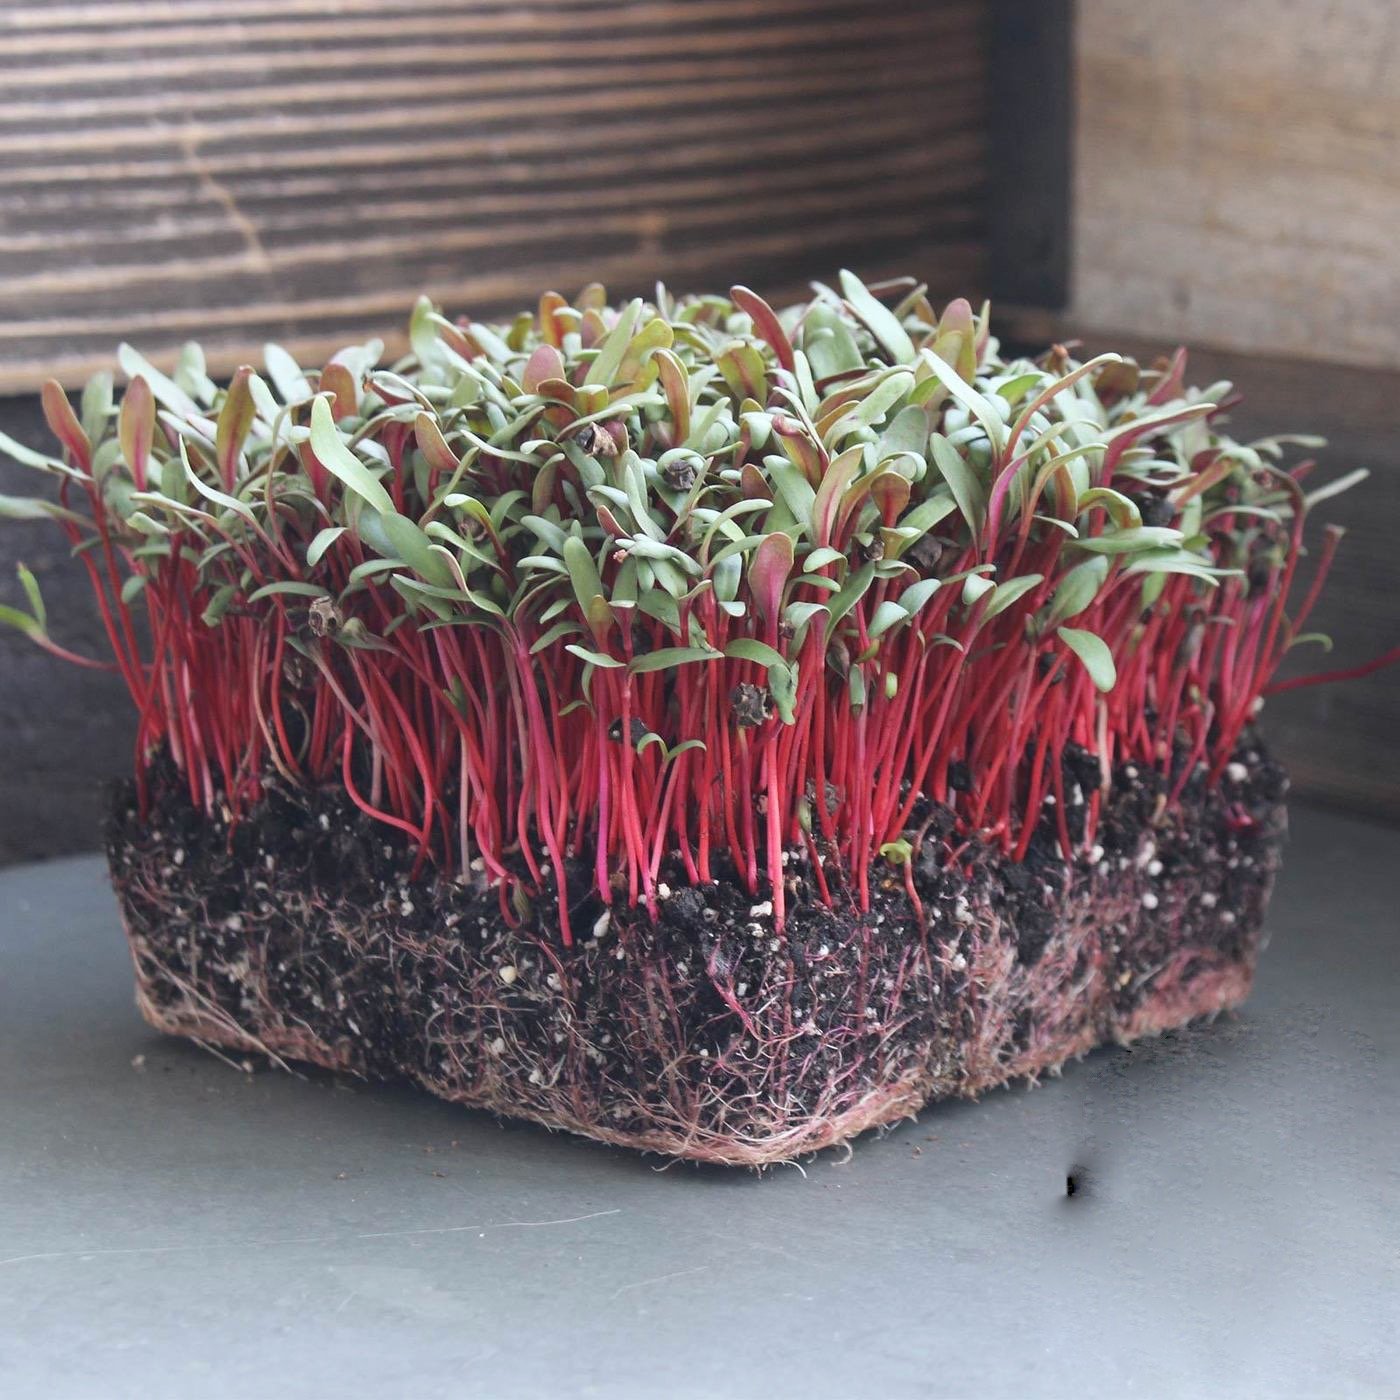
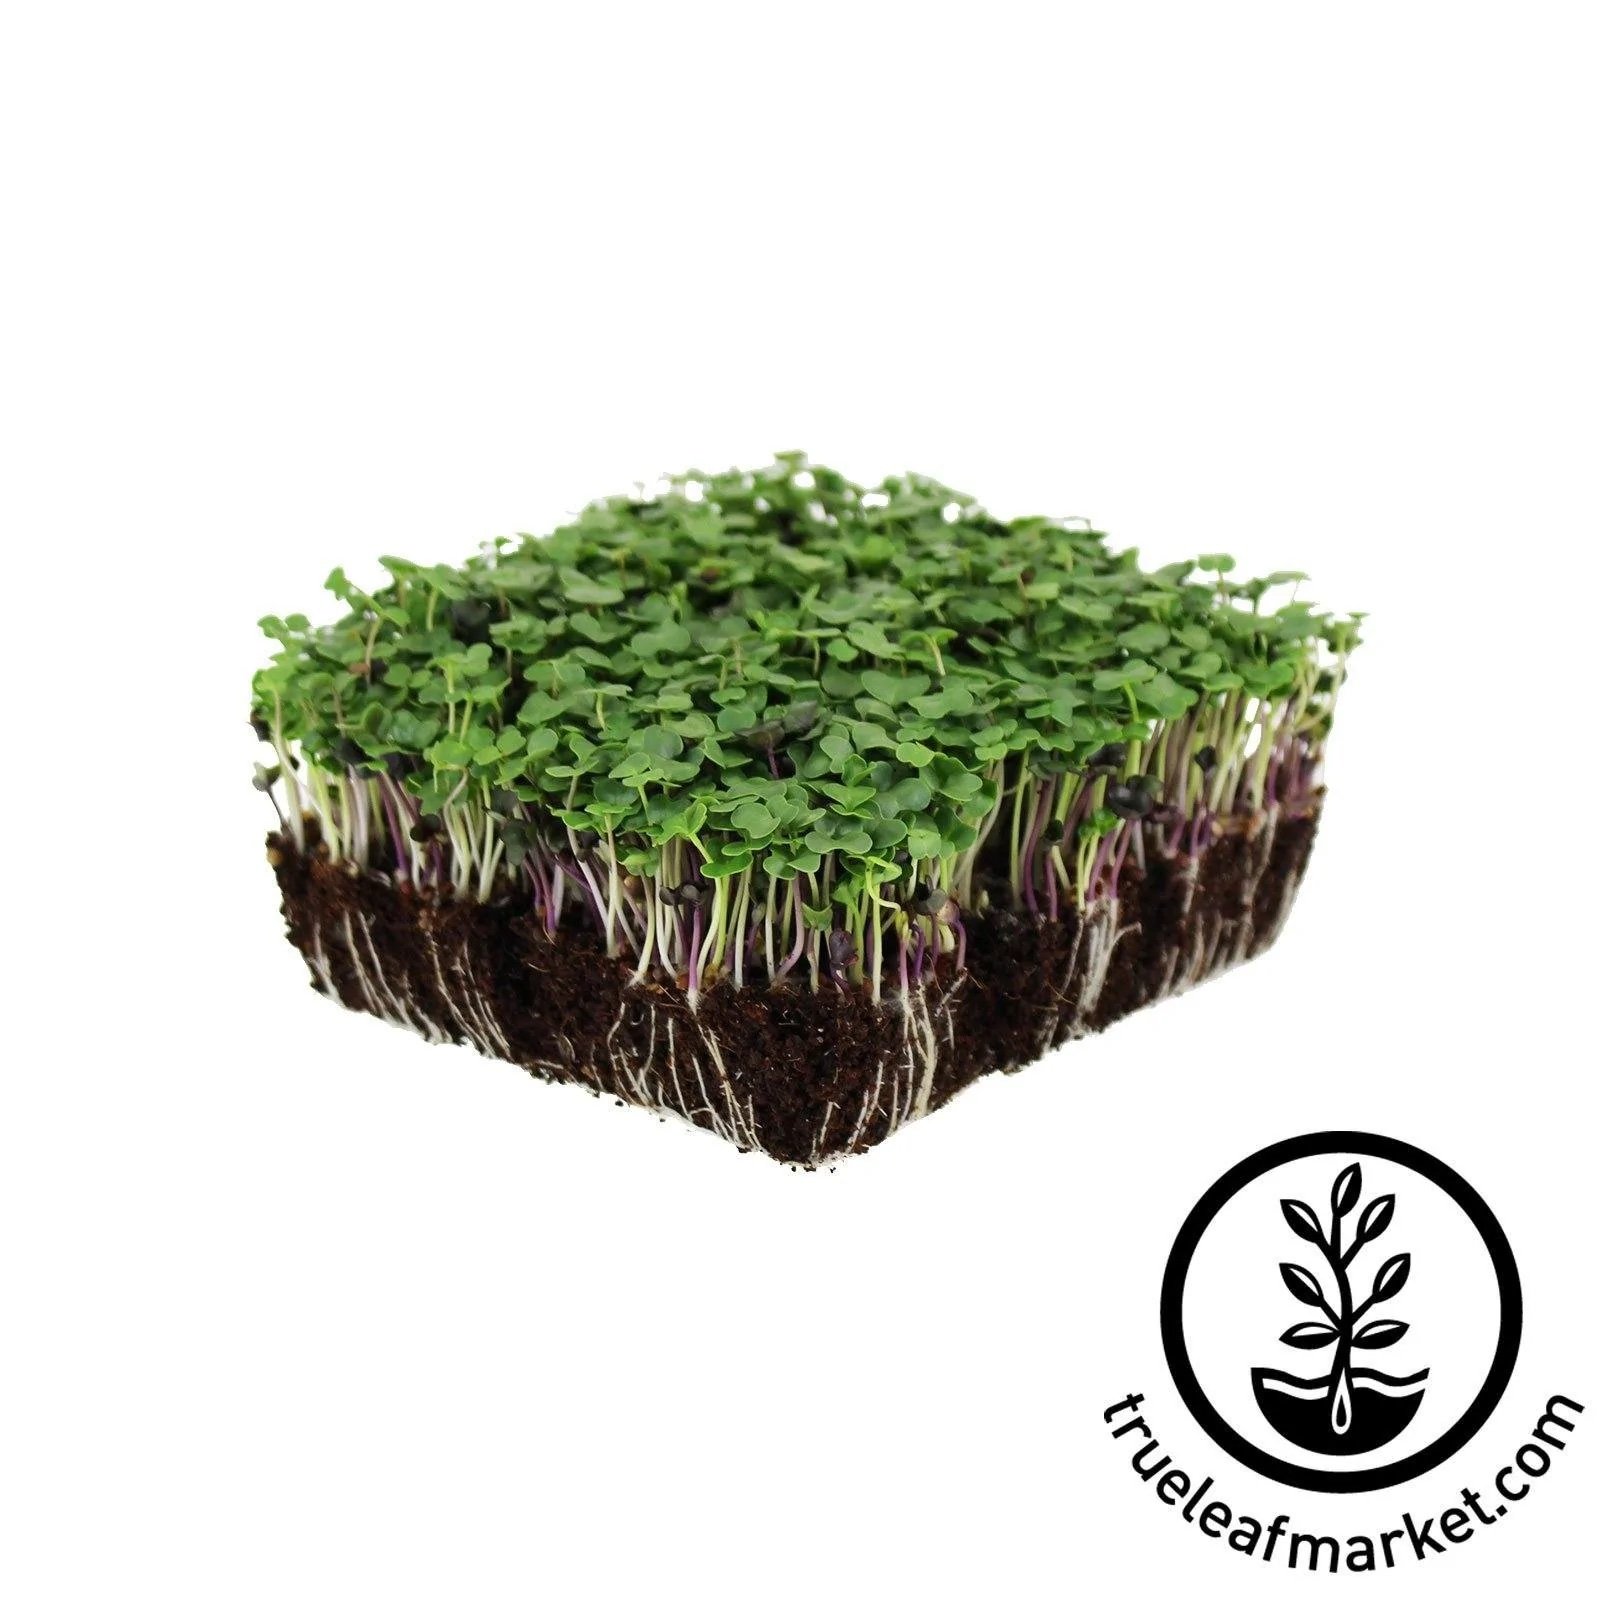
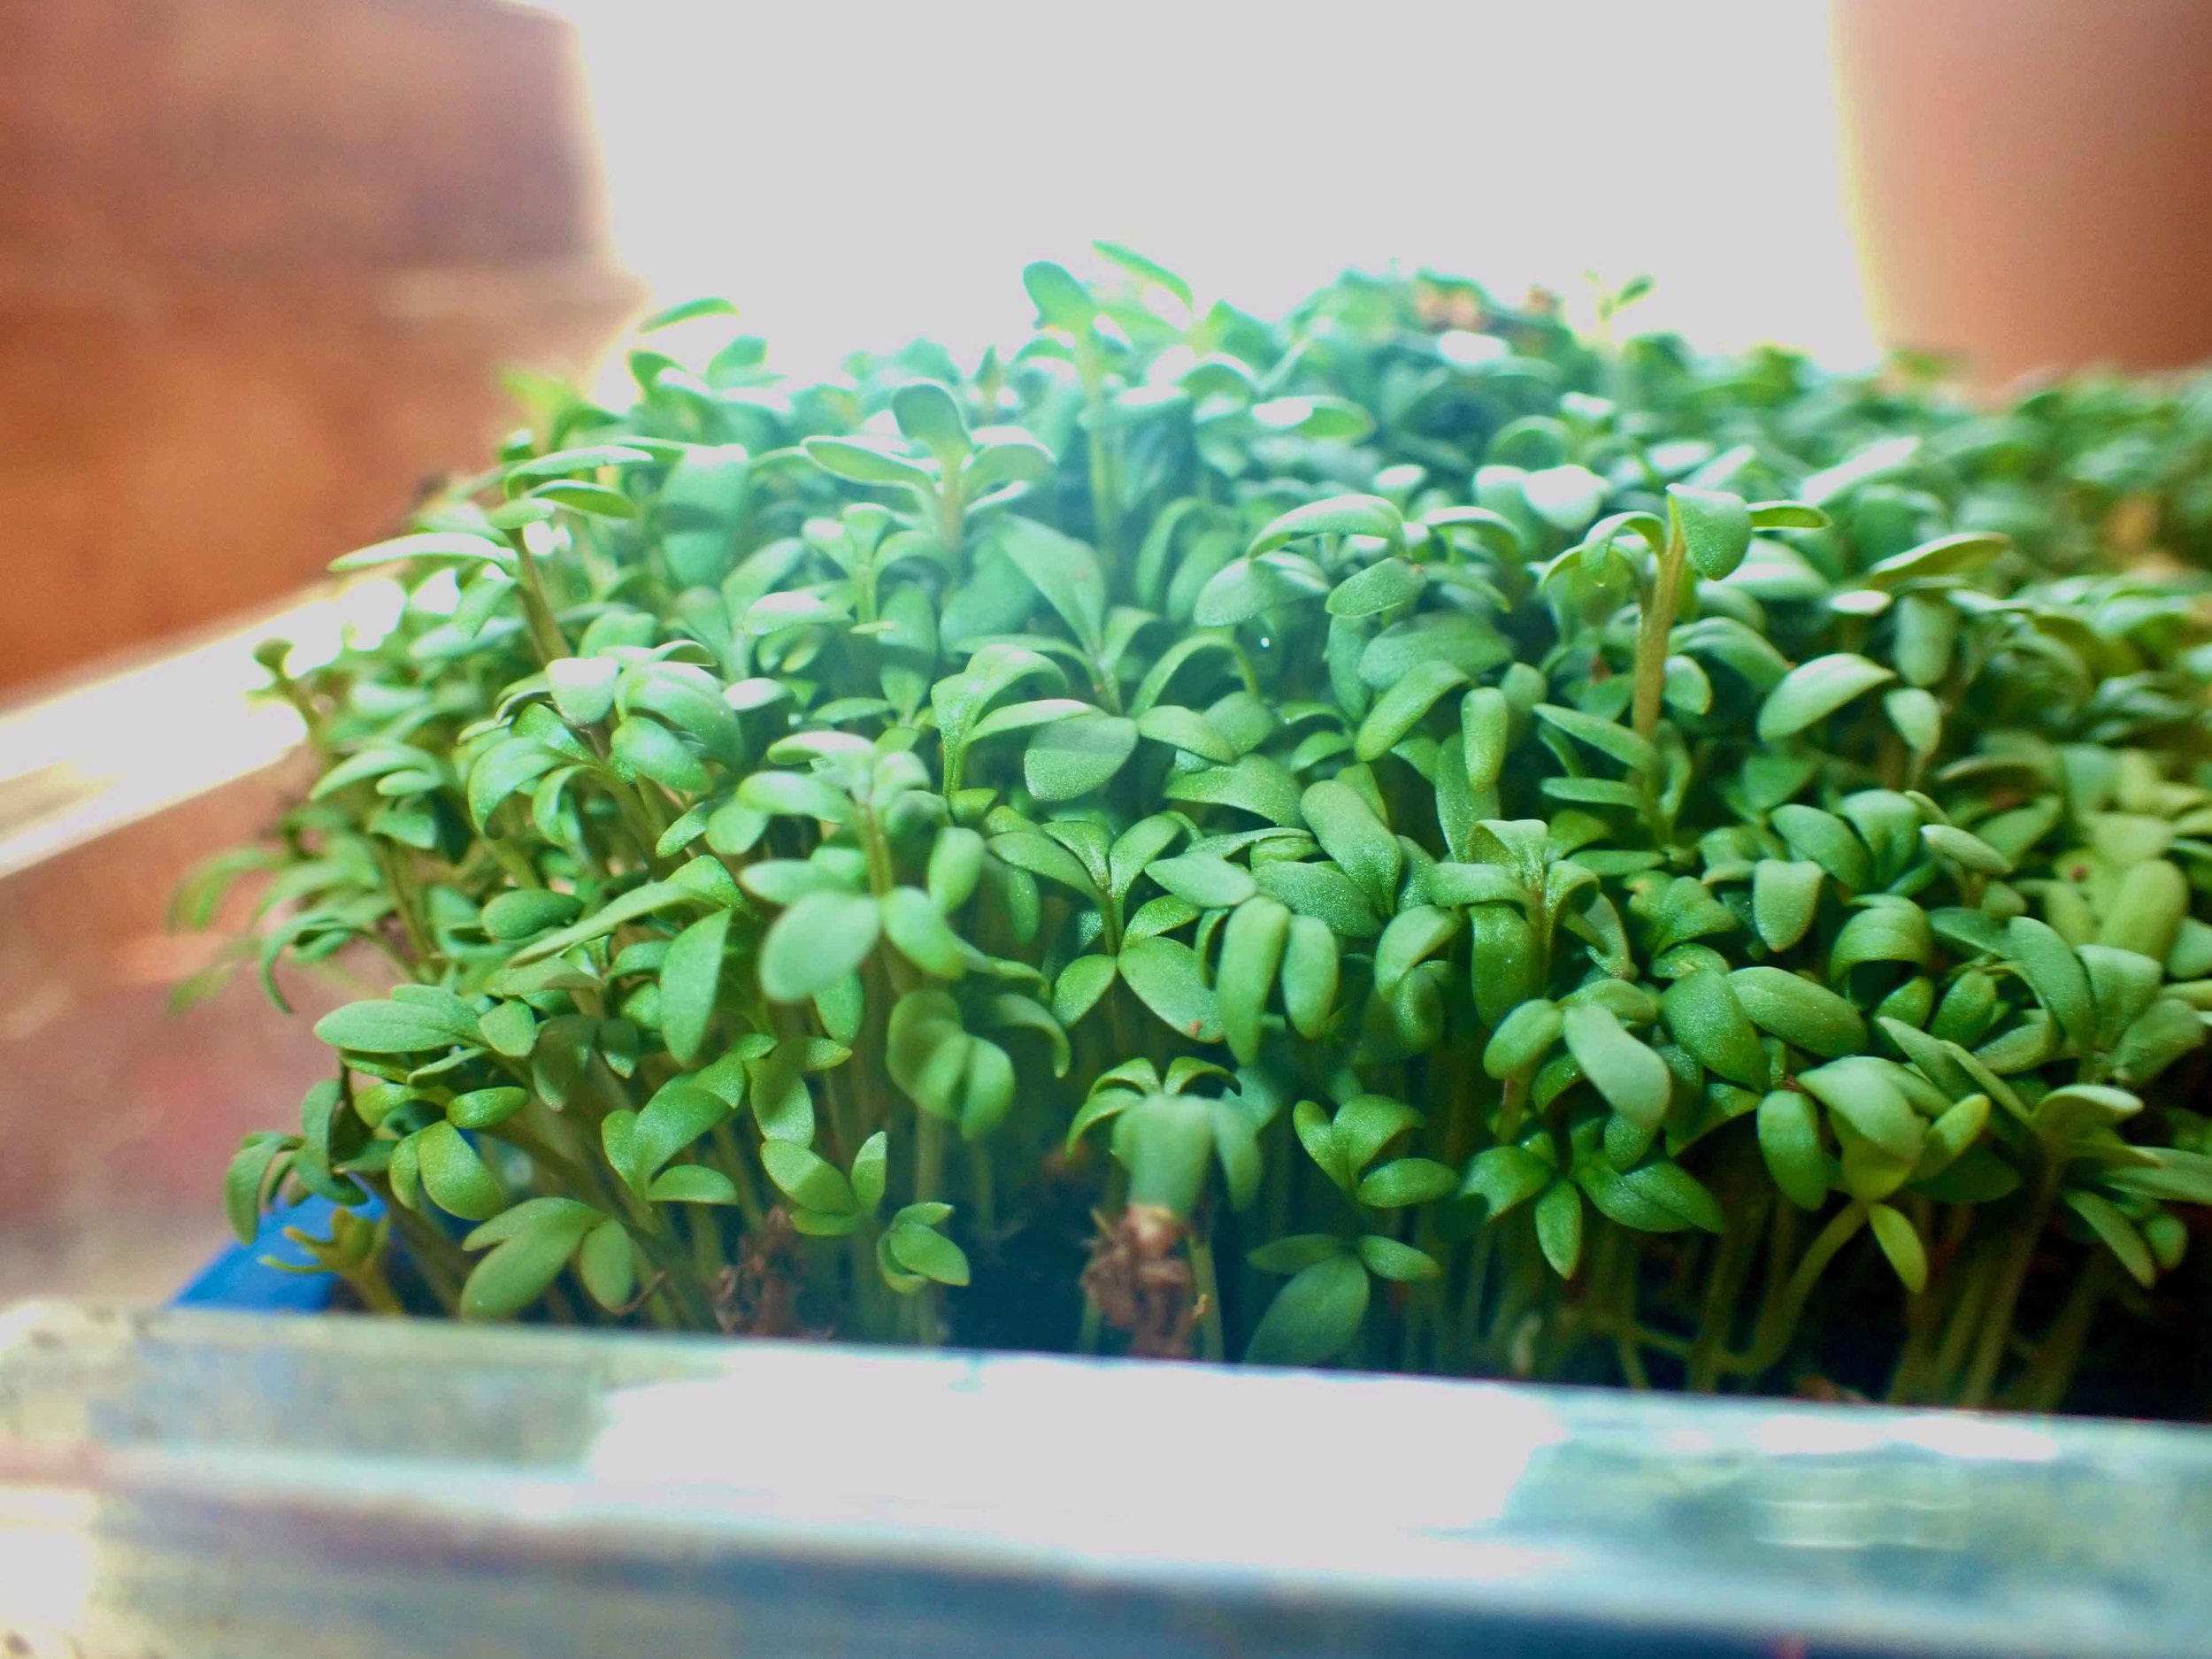
L to R: Chard, Salad Greens, Cress
A Quick How-To
Growers all have slightly different methods for producing microgreens. For growing at home, keep it simple.
Supplies you'll need:
Shallow growing containers
A fine-grained growing mix
Misting bottle
Seeds
A good source of light
Step by Step:
Step 1: Presoak hard-shelled seeds. Seeds with hard shells, such as sunflower, pea, and nasturtium, benefit from presoaking for 8 to 12 hours. Most microgreen seeds will germinate without this step.
Step 2: Thoroughly moisten your soil mix.

Step 3: Fill growing containers with no more than 2 inches of the moistened mix. Some microgreens grow so quickly that they will not need to be watered much, or at all. For these you can use trays without drainage holes. Otherwise, place growing containers with drainage holes in a larger tray, so that you can bottom water if necessary.
Step 4: Sprinkle seed generously and evenly over the soil mix. Top lightly with dry soil mix. Mist with a spray bottle.
Step 5: Cover your planted tray by stacking another like-sized, empty container on top of it, pressing it lightly over the planted seeds. Leave this cover in place for 2 to 3 days, or until the seeds begin to germinate.
Step 6: Once germination has started, expose your microgreens to light. When days are long in spring and summer, they can be placed on a sunny windowsill. In fall and winter, you'll require grow lights. Mist your plants daily. If your microgreens are tall and lanky, that's a sign that you need to use grow lights.
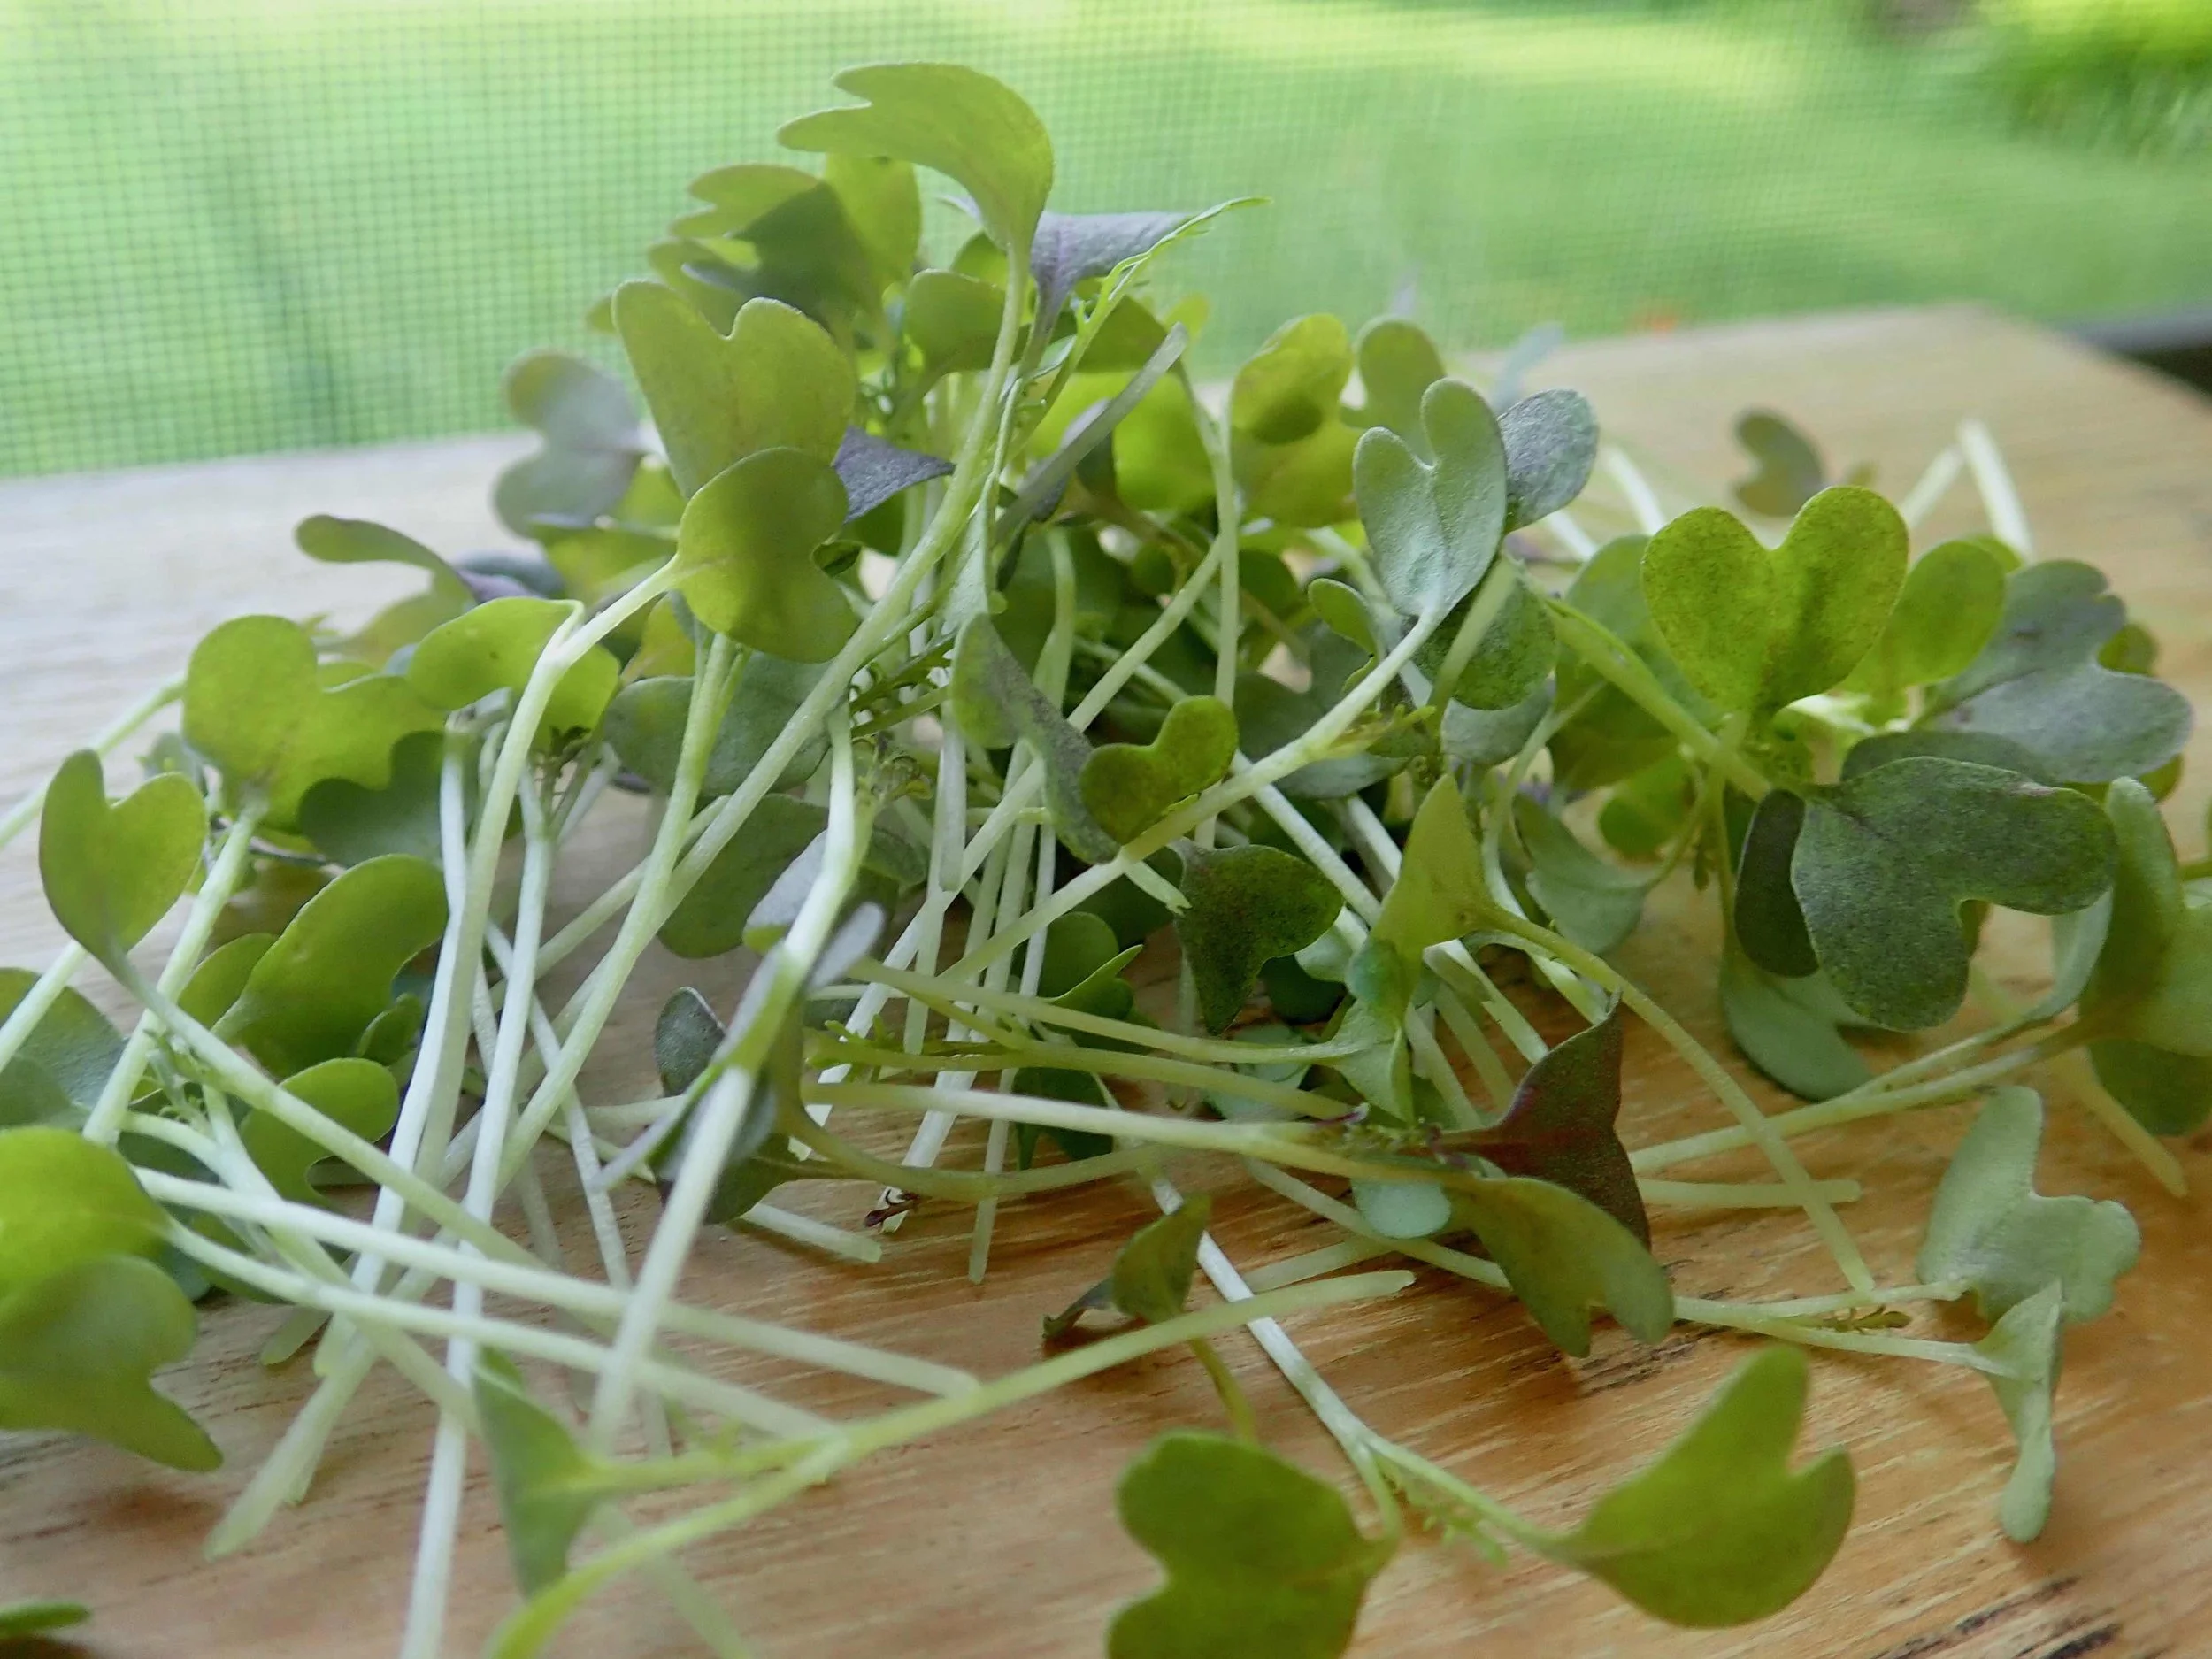
Harvesting
Harvesting microgreens couldn't be easier. Slice through the stems with a sharp blade or snip them with scissors. Washing is usually not necessary.

Fast and Faster
With good light, the time to harvest microgreens can vary, depending on the type of seed you plant.
8 to 12 days after planting: Radish, Sunflower, Cress
10 to 14 days after planting: Mustards, including cabbage, kale, arugula, and others
Up to 20 days: Lettuce, Chard, Beets, Cilantro
Three Tips:
Planting a standard 21 x 12" tray requires at least 2 ounces of small seeds, such as arugula or mustard, and about 8 ounces of larger sunflower or pea seeds. Look for seed sellers that package seeds in bulk.
Plastic trays used to package produce can be used to grow microgreens.
When using leftover seeds for microgreen growing it's best to plant each variety in a separate tray rather than mixing so that growth will be even and consistent.